Gitを使っていると「git add」というコマンドをよく使います。
しかし、「git add」を取り消したいときもあるはずです。
この記事では「git add」を取り消すコマンドを解説します。
内容は以下です。
Gitを使う準備
最初のgit addを取り消す
2回目以降のgit addを取り消す

Gitを使う準備
ここでは、具体例として「test_html」というフォルダを作ります。
その中に「index.html」を作ります。

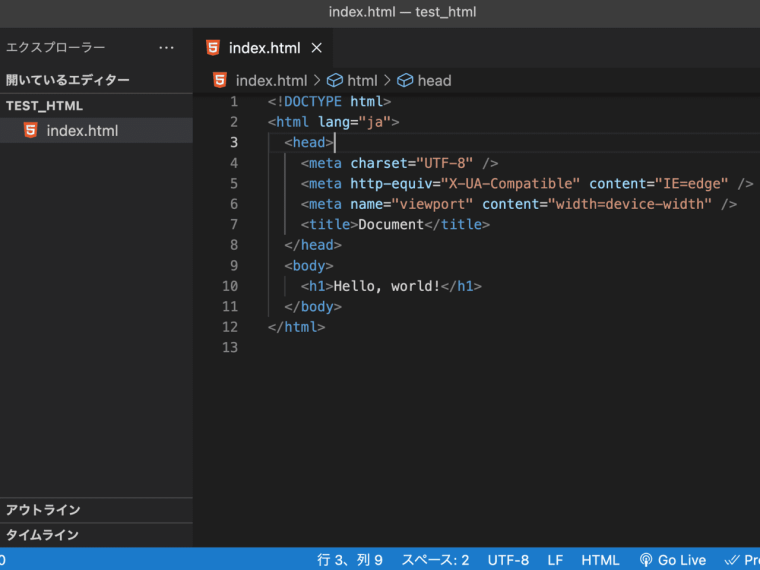
「index.html」の中には、上の画像のようなコードを書いてみました。
コードの内容は適当で構いません。
この「index.html」をGitを使って編集していくこととします。
ターミナルを開いて、「test_html」に移動します。
cd test_htmlそして、以下のコマンドを実行します。
git initこれで「test_html」でGitが使えます。
最初のgit addを取り消す
では、今の状態のまま「index.html」を「git add」してみます。
git add index.htmlこれは、一回目の「git add」です。
これを取り消してみましょう。
まず、以下のコマンドを実行してみます。
git statusすると、以下のように表示されます。
On branch master

No commits yet

Changes to be committed:
  (use "git rm --cached <file>..." to unstage)
        new file:   index.html
コマンドを教えてくれましたね。
というわけで、「git add」を取り消すには以下のコマンドを実行します。
git rm --cached index.htmlこれで「git add」が取り消されました。
本当に取り消されたか確認してみます。
以下のコマンドを実行します。
git statusすると以下のように表示されます。
On branch master

No commits yet

Untracked files:
  (use "git add <file>..." to include in what will be committed)
       index.html

nothing added to commit but untracked files present (use "git add" to track)
「まだ何もgit addされていないけど、変更されたファイルがありますよ」
みたいなメッセージが表示されています。
「git add」は確かに取り消されていますね。
2回目以降のgit addを取り消す
では、もう一度「git add」してみます。
git add index.htmlここでは「git add」で「index.html」を指定していますが、以下のコマンドでもOKです。
git add .これで、変更されているファイル全てが「git add」されます。
そして、次は「git add」されたファイルを「git commit」してみます。
以下のコマンドを実行します。
git commmit -m "最初のコミット"「最初のコミット」の部分は「git commit」に付け加えるメッセージなので、内容は何でもいいです。
次に、「index.html」を少し編集してみます。

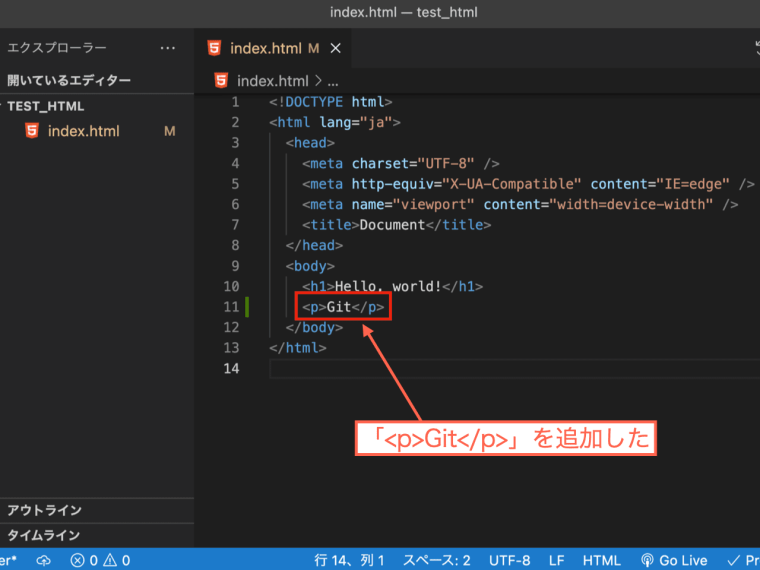
ここでは、上の画像のように「pタグ」で「Git」という記述を追加してみました。
この状態で「index.html」を保存します。
そして、また「git add」します。
git add index.html「git status」してみましょう。
git statusすると、以下のように表示されます。
On branch master
Changes to be committed:
  (use "git restore --staged <file>..." to unstage)
        modified:   index.html
「git add」を取り消すには、「git restore」というコマンドを使うようです。
1回目の「git add」を取り消すときのコマンドと違いますね。
今回の「git add」を取り消すには以下のコマンドを実行します。
git restore --staged index.html「git status」してみます。
git statusすると以下のように表示されます。
On branch master
Changes not staged for commit:
  (use "git add <file>..." to update what will be committed)
  (use "git restore <file>..." to discard changes in working directory)
        modified:   index.html

no changes added to commit (use "git add" and/or "git commit -a")
確かに「git add」が取り消されています。
ちなみに、そのままここで以下のコマンドを実行してみましょう。
git restore index.html
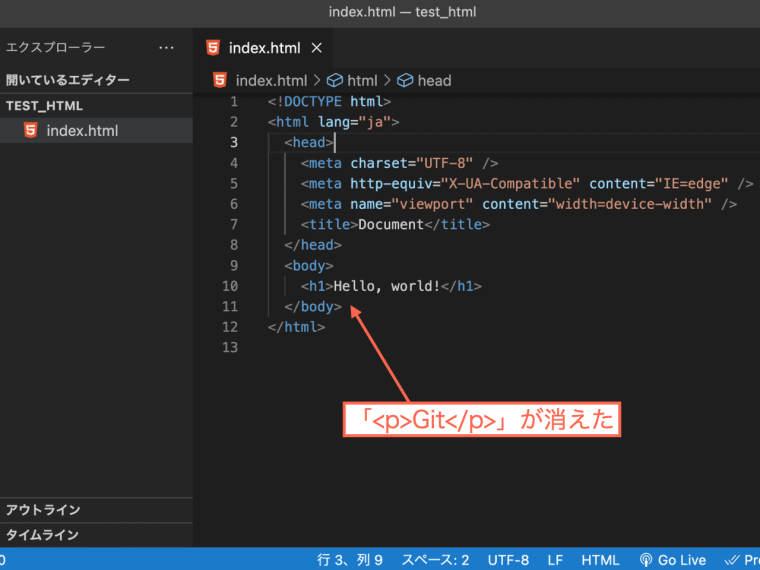
すると、今度はファイルの変更が取り消されます。
ここでは「<p>Git</p>」というコードが消えています。
「ファイルの編集をもう一回最初からやり直したい」
というときに使えそうですね。
まとめ
git addを取り消す方法を状況別でまとめます。
最初のgit addを取り消す
git rm --cached <file>「<file>」の部分にはファイルの名前が入ります。
2回目以降のgit addを取り消す
git restore --staged <file>コマンドを忘れたときは
git status上記のコードを実行すれば、git addを取り消すコマンドが表示されます。
というわけで、記事は以上です。


